ps绘制一个老式宝丽莱相机图标
Inthis tutorial, we will create a Polaroid camera icon. We will use lots of layerstyles and draw manually with the brush tool to achieve a realistic appearance.Let’s get started!
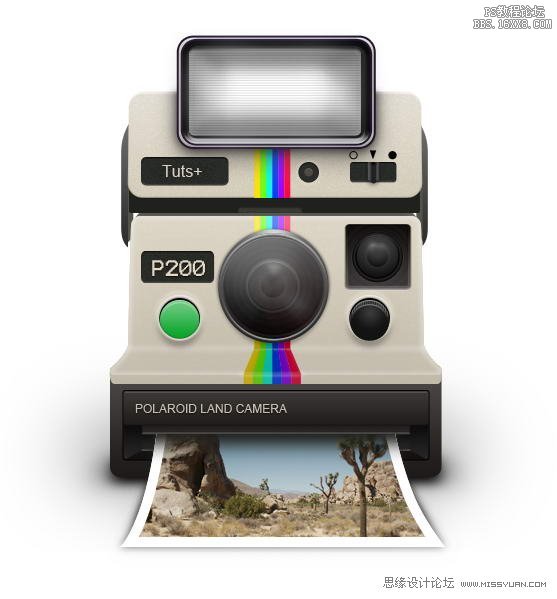
在本教程中,我们将创建一个宝丽来相机图标。我们将使用大量的图层样式和笔刷工具绘制手动实现逼真的外观。让我们开始吧!
先看看效果图
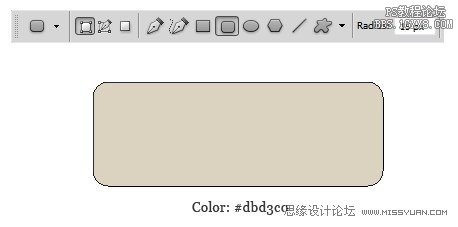
Step 1:Upper Body
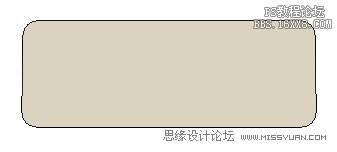
Createnew file, with size 600×700 px. Start by creating a rounded rectangle withcolor: #dbd3co.
创建新的文件,大小为600× 700像素。首先,创建一个圆角矩形的颜色:#dbd3co。
Step2
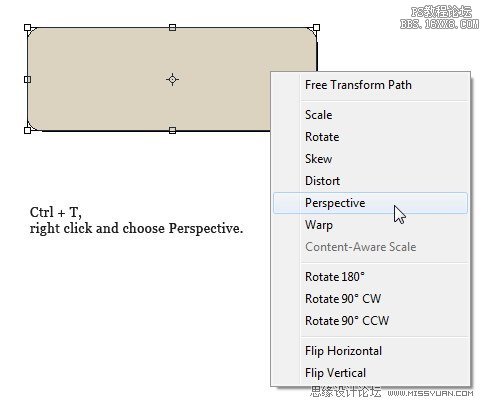
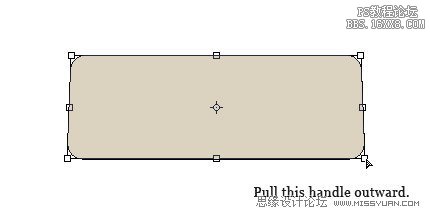
Hit Command/Ctrl + T to perform transformation. Right click and choose Perspective. Pull lower corner outward.
点击命令/按Ctrl + T进行改造。右击并选择视角。下角向外拉。
Step 3
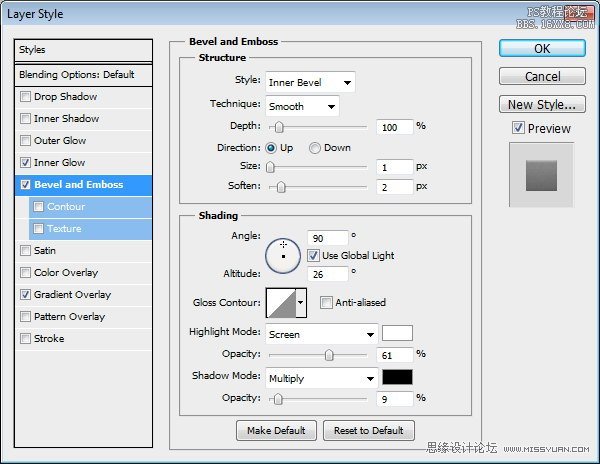
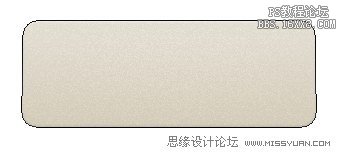
Addfollowing layer styles.
新增以下图层样式。

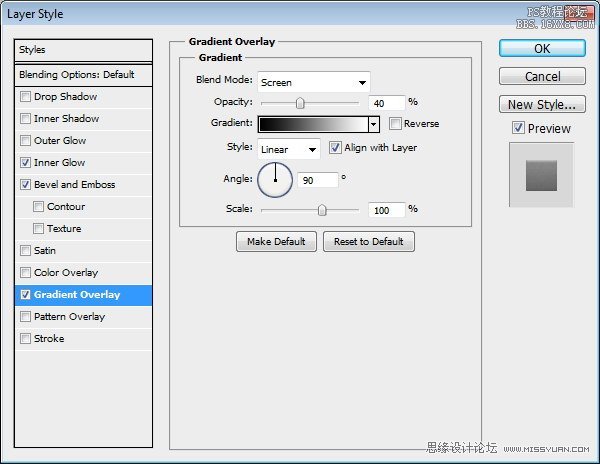
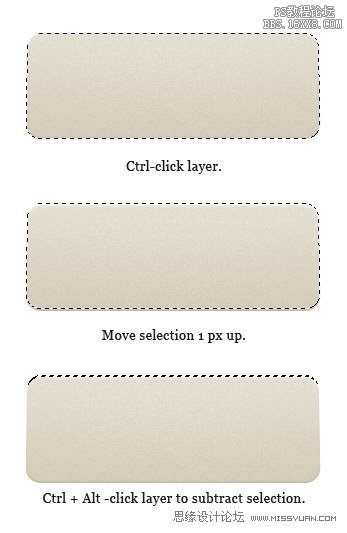
Step 4
Command/Ctrl-clicklayer to get a selection based on its shape. Nudge selection 1 px up bypressing up arrow. Hold Command/Ctrl + Alt then click layer again to subtractthe selection. This process will give you a 1 px selection on top of the shape.
命令/
Ctrl键点击层以获得其形状为基础的选择。微调选择1像素注册按向上箭头。按住Command/按Ctrl + Alt然后再减去按层选择。这个过程会给你一个形状的前1像素的选择。
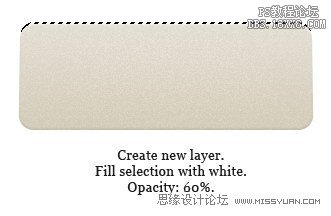
Step 5
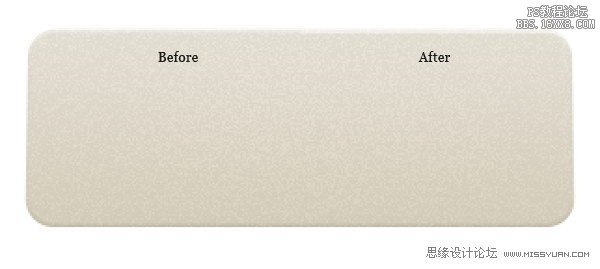
Createnew layer and fill selection with white. Reduce layer opacity to 60%. Below,you can see the subtle difference before and after adding a 1 px line.
创建新图层,用白色填充选择。降低图层不透明度为60%。下面,你可以看到之前和之后添加1像素线的细微差别。
Step 6
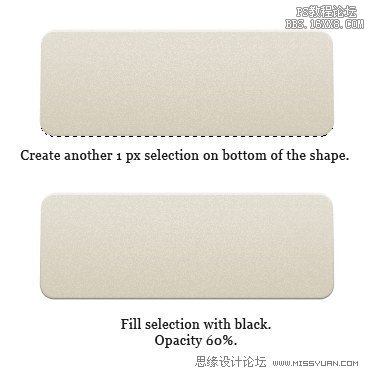
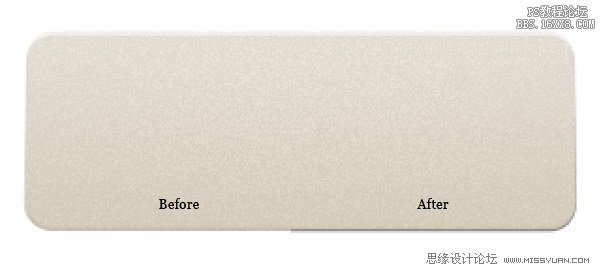
Repeatprevious step, this time for bottom of the shape. Fill selection with black.
重复上一步,这对于底部时的形状。选择填充黑色。
学习 · 提示
相关教程