银河天使效果
在这个例子中我们将要学习如何修饰mm的皮肤,如何在照片中用PS给她上上妆,及插入翅膀和云彩等处理手法。
Open in a new window the picture of a girl, situated on a single nuance background: File ?Open (ctrl o).
首先在PS中打开我们需要处理的图片。文件—打开(CTRL O)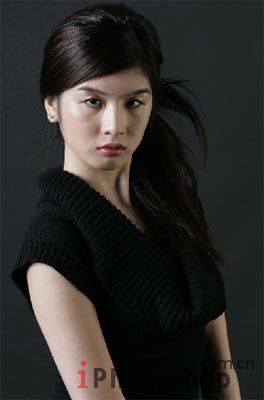
Select the Eyedropper Tool to copy the background's color and place it on the palette as "background color". Choose the Crop Tool also to enlarge the picture's size.
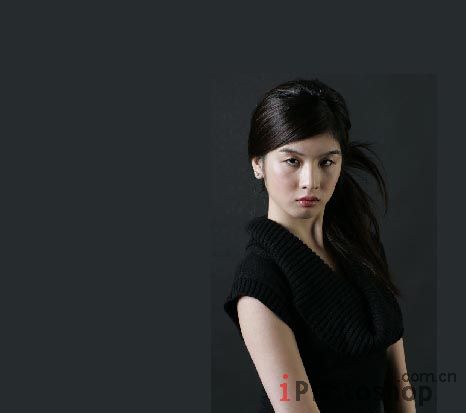
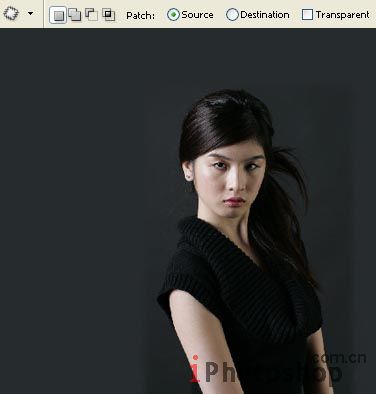
As we may see the picture's edges are clearly visible, that is why we'll get rid of them. Blur them out for the beginning, using the Patch Tool.
Select in the Brush Tool option a brush type named Chalk and start applying it on a new layer (Layer ?Mew Layer), selecting a darker color that we'll use on the whole background.
在选择笔刷工具,用里面的大涂抹碳笔,在图片中对人物以外的区域进行涂抹,颜色用深一些的颜色,用以降低色差: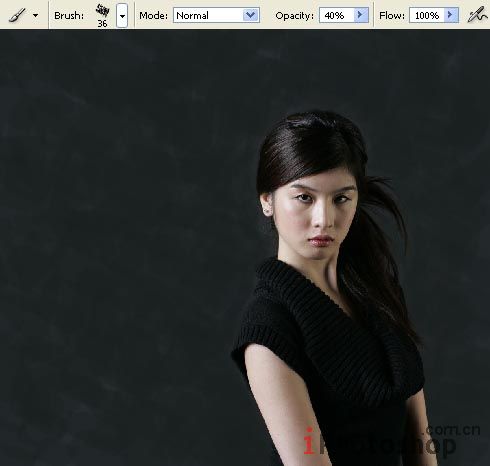
Blur out the layer, using Filter ?Blur ?Gaussian Blur.
将图层进行高斯模糊处理 滤镜-模糊-高斯模糊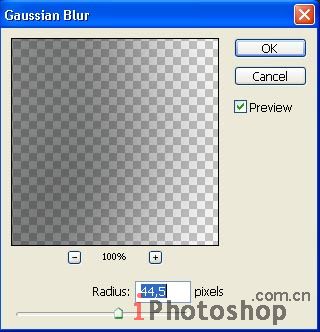
Merge down the layers: Layer ?Merge Down (ctrl e) and we'll have a whole background of one nuance.
将图层合并:层-合并图层~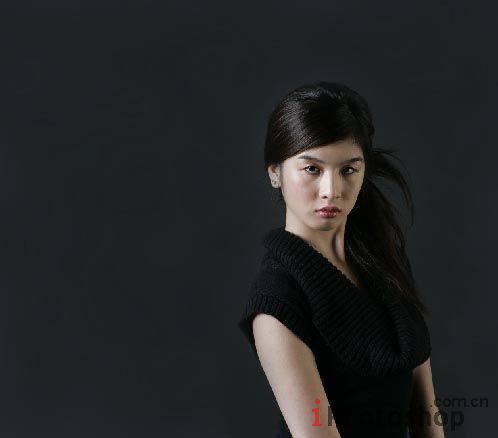
Continue by retouching the girl's skin. Choose the Clone Stamp Tool firstly and apply pointed motions to hide the most visible skin's defects (the colors must be copied near the place we want to retouch).
继续修饰MM的皮肤。选用仿制图章工具,然后取样皮肤上较好的部分,用以盖出皮肤上有缺陷的部位:注意,修饰有缺陷部分的皮肤的时候,采样时尽可能选附近的皮肤的颜色)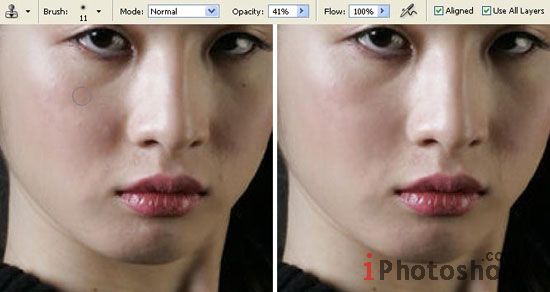
The Patch Tool will be helpful in hiding the swellings under the girl's eyes.
在用修复工具组中的修补工具把她的眼睛下的眼带给遮盖掉:
Copy now the layer: Layer ?Duplicate Layer (ctrl j) and apply the next option on the copy - layer: Filter ?Blur ?Smart Blur.
现在按CTRL J命令复制该层,然后点击:滤镜-模糊-特殊模糊:
Create now a mask out of the layer: Layer ?Add Layer Mask ?Hide All and make use of the Brush Tool of white color with smooth edges to make the layer visible only on the smoothest skin places (the face, the neck, arms, but don't paint the folds).
下面添加一个蒙版,点击层-新建层蒙版-隐藏所有,使用白色画刷将mm的皮肤变得更光滑些~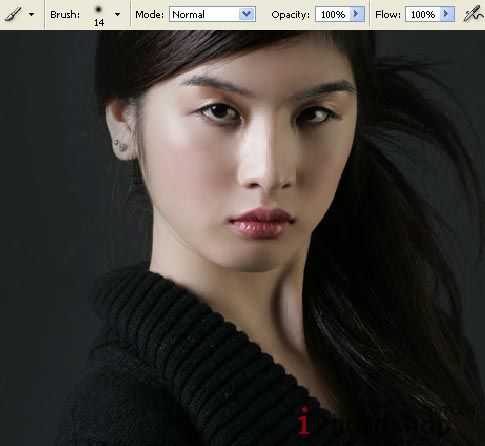
Merge down the layers (ctrl e) and select the Smudge Tool to blur out the interrupted lines, remained when applying the filter.
点击(CTRL E)将图层合并,选择涂抹工具将图片中的线条部分进行模糊处理。
Paint the girl's lips on a new layer, selecting the Brush Tool:
现在建立一个新图层,用比刷工具来给MM上口红: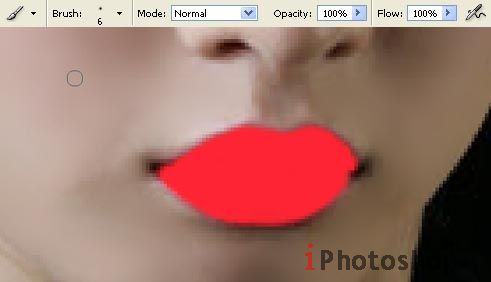
Change the layer's Blending Mode on Color Burn and blur out a little the edges of the lipstick, using the Blur Tool.
在将图层混合模式改成颜色加深,在用工具组中的模糊工具模糊下溢出嘴唇以外多出的部分: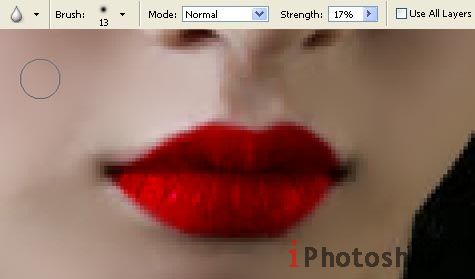
Merge down the layers (ctrl e) and make the corrections of the layer's color, applying next options: Image ?Adjustments ?Selective Color.
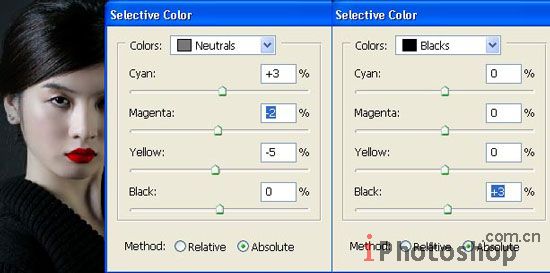
Change also the brightness and the level of the contrast, applying Image ?Adjustments ?Levels (ctrl l).
按CRTL I(色阶命令)改变下亮度和对比度,或是菜单中的图象-调整-色阶: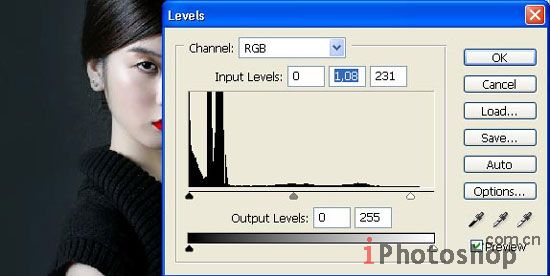
We have to accentuate the girl's eyes on a new layer, applying the usual Brush Tool.
现在新建立一层,在用画笔来把MM的眼睫毛加长: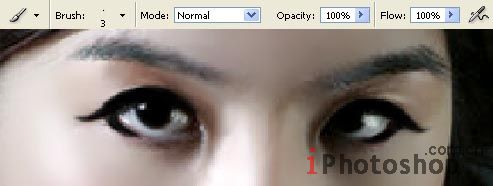
Change the layer's Blending Mode on Multiply and merge down the layers (ctrl e). Download now a set of ready to use brushes of smoke shape and represent the girl's hair out of the smoke, using the next combinations: Edit ?Free Transform (ctrl t), Edit ?Transform ?Distort, Edit ?Flip Horizontal, and also the Eraser Tool, but we have to insert each lock on a new layer, transform it and combine the layer with the rest of them.
在将图层混合模式改成正片叠低,按CTRL E向下合并,现在下载我之前准备好的笔刷在MM的头部进行描边,画笔形状的大小请用自由变换命令来控制好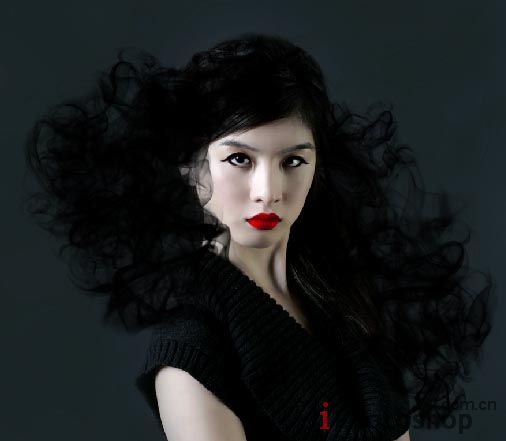
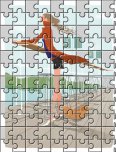
Now we have to download a set of ready to use brushes of wing's shape
下面要绘制MM的小翅膀了
Select a ready to use brush now to introduce the moon in our picture
继续使用笔刷绘制一个逼真的月亮~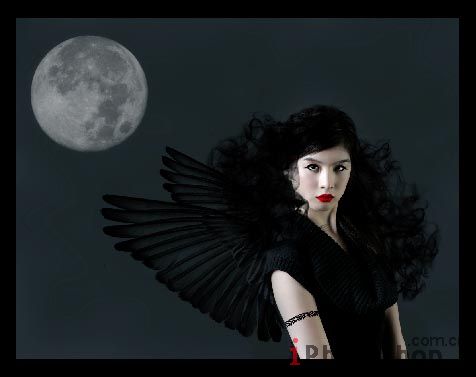
Make the color's correction of the basic layer (Selective Color).
使用可选颜色对图片的颜色进行调整~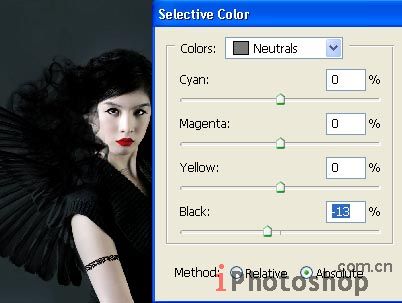
Insert now the texture of an old paper, placed above all the layers:
在最最上面一层插入一个破旧牛皮纸纹理的图片。
Change the layer's Blending Mode on Linear Burn and change also the texture's color, selecting Image ?Adjustments ?Hue/Saturation (ctrl u).
将混合模式更改为线性加深,同样对牛皮纸的颜色进行一下调整(图像-调整-色相/饱和度)。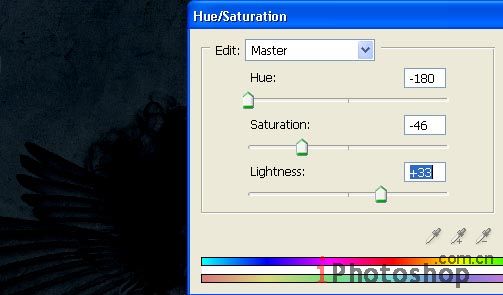
We have to make a copy of this layer, just to make its color more intensive (ctrl j) and merge down the layers (ctrl e). Make another copy of this layer and correct its size and the distort level of the second wing, using Edit ?Transform ?Distort and Edit - Free Transform (ctrl t).
在用另一个翅膀笔刷来添加一个小翅膀,同样的画笔形状的大小请用自由变换命令来控制好.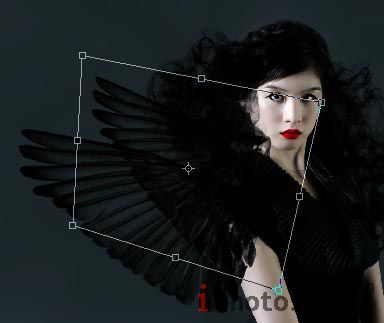
We have to erase the unnecessary parts of both wings, choosing the Eraser Tool.
多余的部分用橡皮擦工具将其擦除。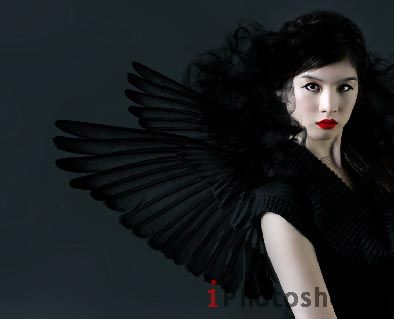
Insert on a new layer the already scanned picture of a tattoo. Open it firstly in a new window (ctrl o), mark it out with the Rectangular Marquee Tool and make a copy of it Edit ?Copy (ctrl c). Get back to the girl's window and insert it on a new layer (ctrl v).
下面在来给她手臂上增加一个刺青,用复制,粘贴命令将以下图象编辑到图片中: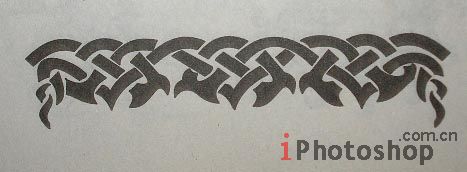
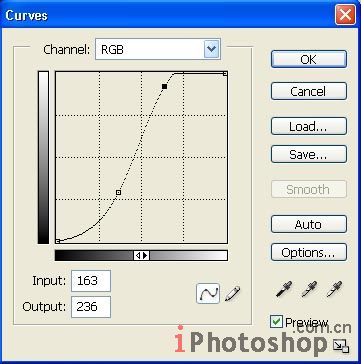
Decolorize this layer: Image ?Adjustments ?Desaturate (shift ctrl u) and increase the layer's contrast, applying next option: Image ?Adjustments ?Curves (ctrl m).
去色此图层:图象-调整-去色,用来增加此层的对比度。在用曲线命令:图象-调整-曲线。
Insert the picture on the necessary place (in this case we have to put it on the forearm), using the Free Transform selection (ctrl t) and change the layer's Blending Mode on Multiply.
把它插入到手臂上合适的部分,在用自由变换命令调整下大小,将图层混合模式改成叠加。
Just to make the tattoo look more real, we have to create the illusion that the picture repeats the arm's volume. It's possible to do this manipulation by applying the Turbulence Tool in the next window: Filter ?Liquefy (shift ctrl x).
为了让刺青看上去更加真实,我们还需要用液化命令工具将其捎做修饰下。(滤镜-液化)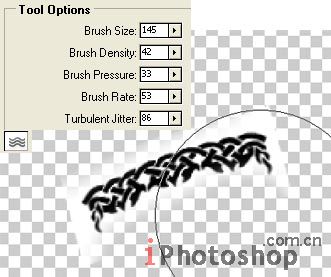
Erase now that part of the picture situated outside the skin's borders (Eraser Tool).
在用橡皮擦工具擦除多余的部分: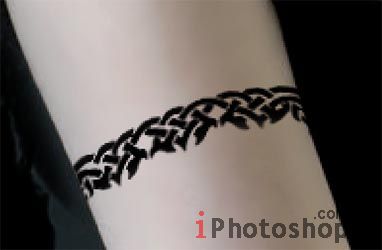
Create a mask out of the layer: Layer ?Add Layer Mask ?Reveal All and make use of the Brush Tool of black color to make the texture invisible above the girl's skin.
新建图层蒙版,像上面操作过的一样再对MM的皮肤进行一下优化。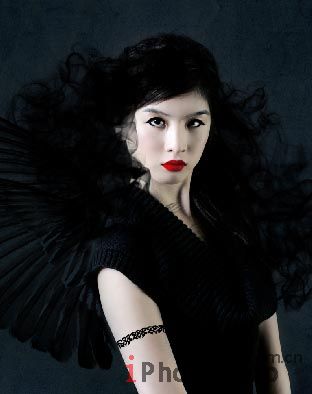
Select the Brush Tool on a new layer to insert the shadows on the girl's eyelids.
在新建一个图层用画笔为她添加一个眼影: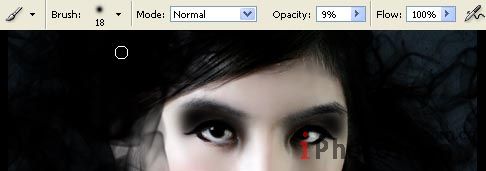
Then we have to create a mask out of this layer and choose after that the Gradient Tool to make them almost invisible:
现在眼影看上去有些太浓了,我们在把此图层的不透明度设置的低一些: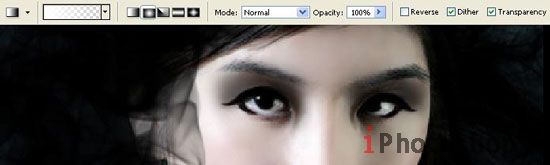
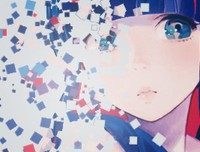
Merge down all the layers: Layer ?Merge Visible (shift ctrl e) and when creating a new layer, apply the next combination on it: Filter ?Render ?Clouds (selecting on the color palette the white and black colors).
合并以上图层并建立一个新图层,然后用滤镜-渲染-云彩(使用滤镜之前请先把前景色和背景色设置为黑和白色).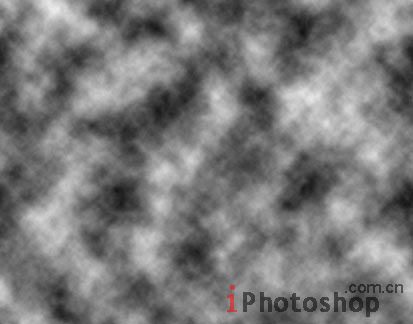
Accentuate the black color, making use of next option: Select ?Color Range:
为了突出黑色加大反差,在用选择-色彩范围命令: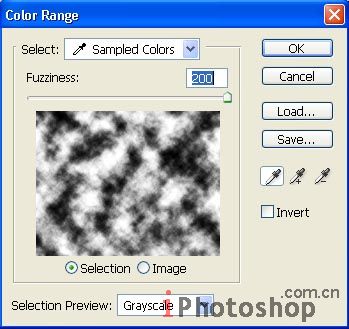
Erase it and move off the markings after that: Select ?Deselect (ctrl d). Change the layer's Blending Mode on Color Dodge. Select the Crop Tool and Rectangular Tool to insert the picture in the frame. Everything must be done on a new layer.
擦除多余的部分,然后按CTRL D取消选择,并把图层混合模式改为颜色减淡。用画布大小命令和矩形选框工具为照片增加一个边框,当然这之前还要新建立一个新的图层这是个好的习惯。
We have to make the clouds bigger, that is why we need to copy the layer containing the clouds (ctrl j) and blur out the copy ?layer, using the next combination: Filter ?Blur ?Motion Blur.
将云彩的层进行复制,并点击滤镜-模糊-动感模糊,使得云层看起来更大一些~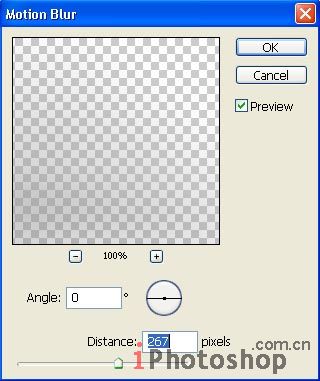

Merge down all the layers again (shift ctrl e) and make the picture's edges a little teared, making use of the Burn Tool and Chalk brush type.
最后我们在用加深,减淡工具修饰下照片的边缘部分。
加深工具参数: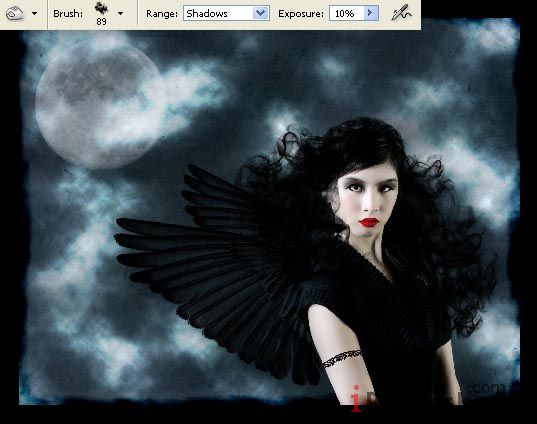
Make them look lighter in several places, applying the Dodge Tool.
减淡工具参数设置: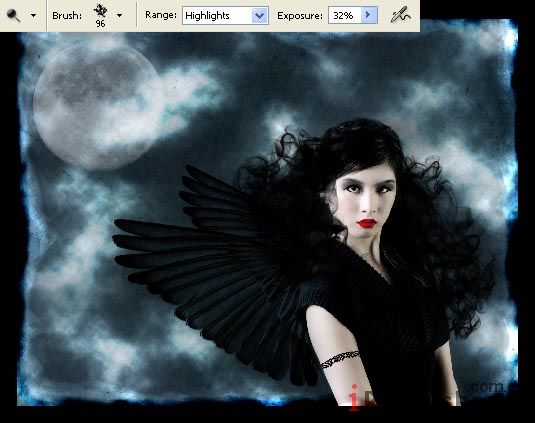
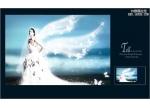
And that is what we've got:
到这全部步骤已经完成,在来看下最后的效果吧~~~希望这篇文章你会喜欢哦~~~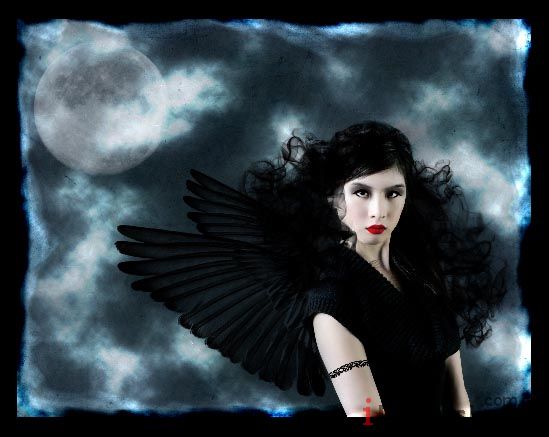
本文由本站litty翻译,转载请注明出处:http://www.iphotoshop.com.cn,谢谢!
转自:eyesontutorials
简单的,我们教你,深奥的,你来分享
学习 · 提示
相关教程