photoshop合成雪中女王
来源:
作者:
学习:2547人次
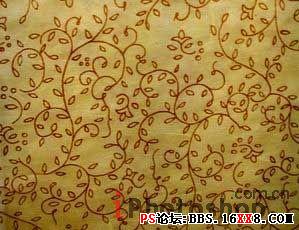
Open in a new window the ornaments' texture.
新建层,打开一幅装饰的纹理。
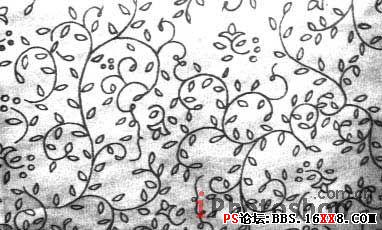
Decolorize it and increase the brightness and the contrast (Curves).
把图片的颜色褪掉(图像-调整-曲线)
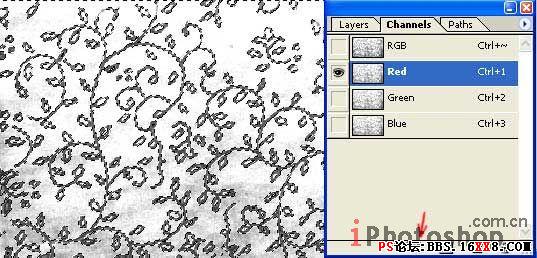
Pass to the Channels window, choosing Red (ctrl+1), applying next command Load Channel as Selection.
进入通道模式,选择红色通道(ctrl+1)点击载入通道为选区。
Choose then again RGB, cut out the ornament (Cut) and insert it on a new layer, above the girl's layer. Get back to the processed picture and group these layers (the ornament must not be situated outside the girl's contours), applying Layer -Create Clipping Mask (ctrl+g). Change the layer's type on Color Burn.
回到RGB模式下,剪切选取,添加到MM层上面的新建层中,点击图层-创建剪切蒙版(ctrl+g),层类型设置为颜色加深。

Use now the Brush Tool and Smudge Tool to picture a fluffy lower on the scarf.
使用画刷工具和涂抹工具绘制一个绒毛装饰品,放在围巾处

学习 · 提示
关注大神微博加入>>


网友求助,请回答!