当前位置:首页>ps实例教程>ps网页设计>logo教程>教程内容

PS制作Google Chrome浏览器Logo图标(4)

来源:未知 作者:admin 学习:14740人次

Create a new layer again situating it above the previous made one and do the same operations we did when painting the top layer (meaning the layer situated above the shadow layer, but lower than the logotype one).
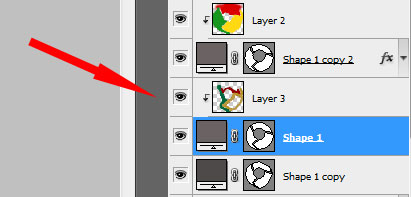
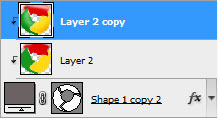
再创建一个新图层,重复之前给扇叶上色时的步骤,为上一步骤复制的形状图层上色,具体参数如下图:

Make a copy of the mask layer where we used those three colors to paint the top layer of the logotype. Choose for this layer the Burn Tool (O) and the Dodge Tool (O) to draw several highlights and shadows on the logotype.
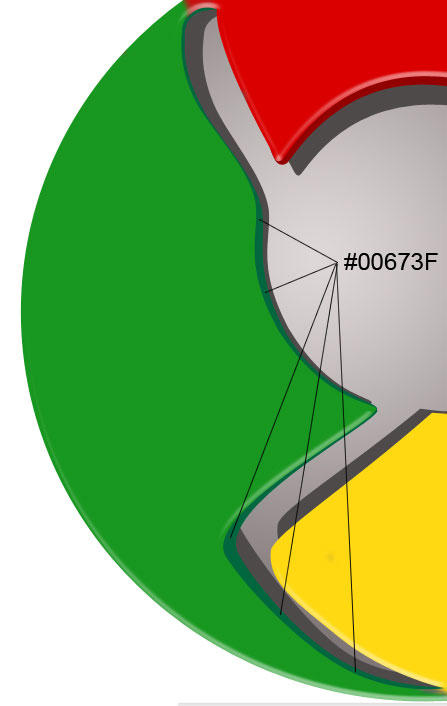
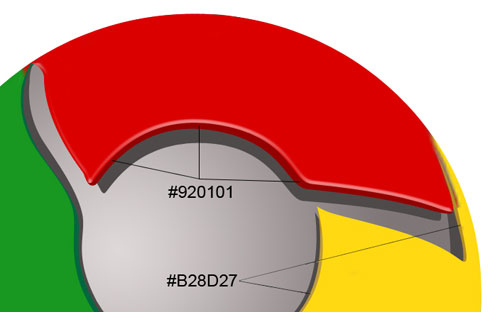
将为表面扇叶上色时的颜色图层复制一份,使用加深和减淡工具画上一些高光和阴影(如图)


学习 · 提示

  • 一定要打开PS,跟着教程做一遍,做完的图到这交作业:提交作业
  • 建议练习时,大家自己找素材,尽量不要用教程提供的素材。
  • 教程有看不懂的地方,可以到论坛发帖提问:新手求助
  • 加官方微信,随时随地,想学就能学:ps_bbs,或扫右侧二维码!
  • 关注我们学更多,每天都有新教程:新浪微博 抖音视频 微信小程序
- 发评论 | 交作业 -
最新评论
暂无评论,交个作业支持一下吧~

关注大神微博加入>>

网友求助,请回答!