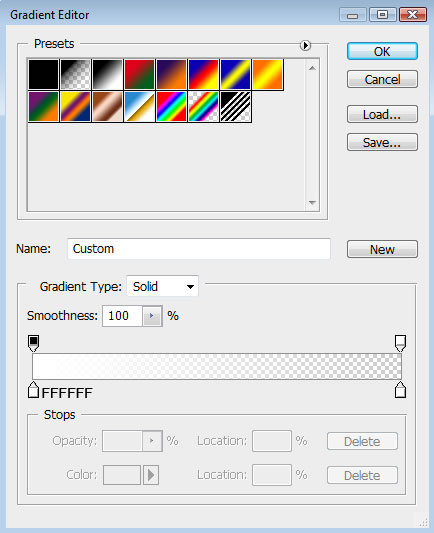
Gradient parameters:
渐变参数设置

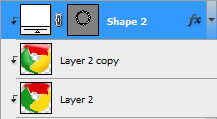
Press Alt button and make a mouse click between the ring layer of the highlight and the previous layer:
将图层移至刚才制作高光阴影的那一层之上,按住Alt键点击两图层之间,创建剪贴蒙版.

On this stage we need to represent a highlight on the lowest part of the logotype. Select the Ellipse Tool (U) and represent the outside edges of the highlight along the bottom edge of the same logotype. Press the Alt button, while using the same tool, to erase the unnecessary elements of the picture. The layer color in this case is white.
接下来这一步,我们将画一道底部的高光,
选择椭圆工具(U),沿着图标的底部画出高光的外边,再按住Alt键清除掉不必要的部分,图层颜色为白色

The layer parameters: Fill 25%
Blending mode-Lighter Color
图层设置:
填充:25%叠加模式:
颜色减淡

The logotype is finished!
到这一步图标就完成了!