教大家用3DSMAX制作出一个角色塑造过程(3)
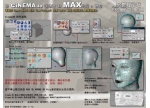
Export to Photoshop in resolution 4000x4000
In Photoshop I made three textues: Diffuse, Specular and Bump map. When I was creating Diffuse textures I used some girl pictures mixed together.
在绘制贴图的时候我还是需要绘制三张贴图:过度色贴图,高光贴图和凹凸贴图。

再渲染一下看看

I added bones on knees and elbows, HI solver, the posed the model to how I imagined it to be.
然后再把骨胳和IK链加到身体的膝盖,肘关节等部位当中,这时候你需要根据接下来要摆放的姿势来具体调整。
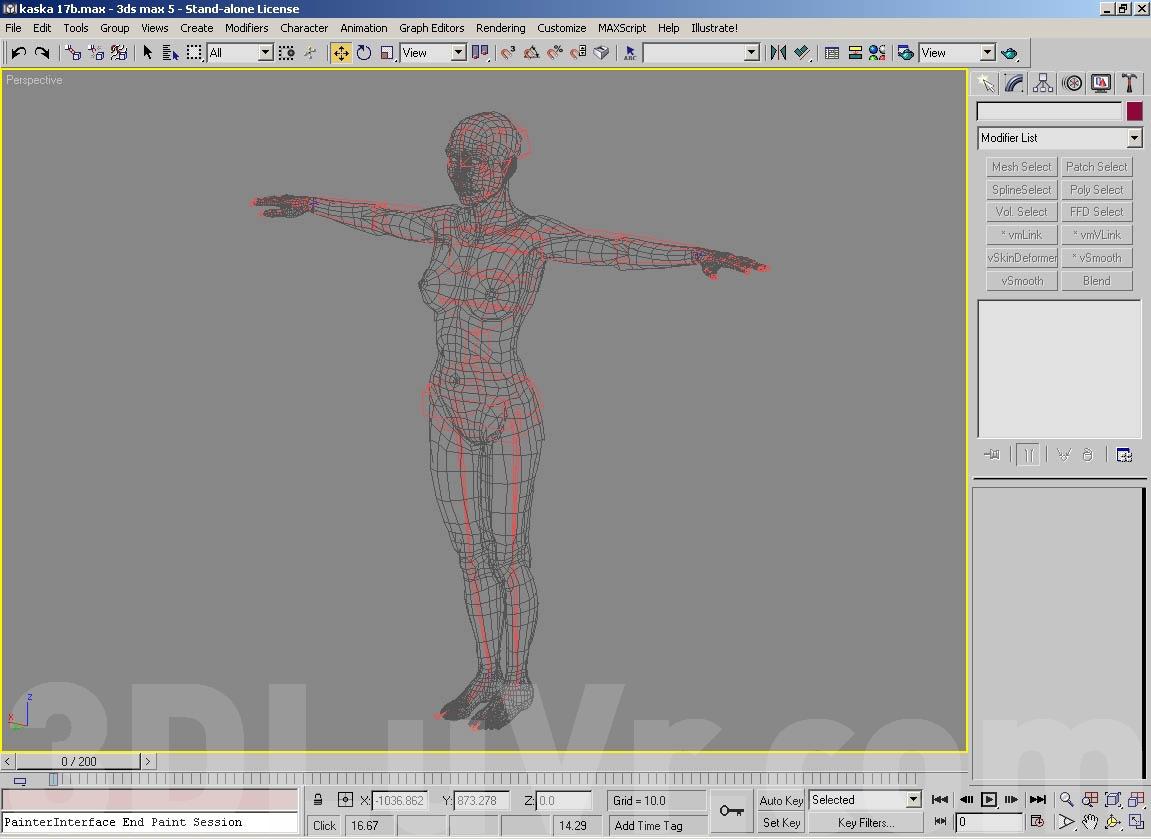
I placed the characters into the scene and posed them. The mesh was unshaped on knees, elbows and feet, it needed correction. I made two Snapshots of characters and I corrected these deformation which were visible in front of the camera.
看到下图中画红线的关节处了吗?那些地方都出现了不同程度的变形和挤压,我们需要进行调整。在MAX中我使用了两个角色的Snapshots来进行对比来调整,这样的话可以更直观一点。
看到下图中画红线的关节处了吗?那些地方都出现了不同程度的变形和挤压,我们需要进行调整。在MAX中我使用了两个角色的Snapshots来进行对比来调整,这样的话可以更直观一点。

调整完毕

The woman neaded some element of clothes, so I used Digimation Stitch plugin. I made several tests of material falling down on the woman's body.
我们那位躺在地上的美女还少一件衣服不是吗?我们这就给她现做一件,在这里我使用了Digimation Stitch专用的步料插件,并在上面叠加了各种不同的材质。

Now she needed hair. I tried to use Shag:Hair but it did not give the effects of realistic hair, and the time of rendering was too long. I took a picture of hair lying on the white floor. I made Diffuse colour with white background, and Alpha Channel which I used as Opacity.
头发自然也是少不了的。一开始的时候我尝试着使用Shag:Hair头发插件来做,可是后来发现它缺乏真实感并且每次渲染的时间也太长了。所以我用了一个面的方式来代替它,用过度色加上Alpha通道来表现,效果也挺不错的。(在这里我要替Shag:Hair说说好话,其实Shag:Hair效果是非常好的,只是调解的时间要稍微长一点而且渲染的速度一点也不慢,最重要的的是它还可以做飘动的动画。)
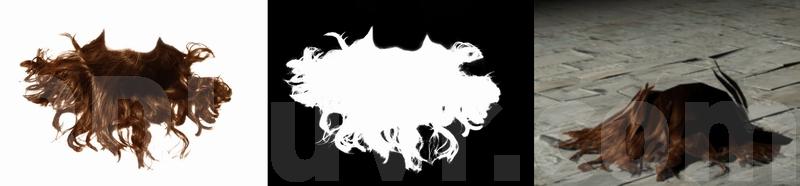
点击放大
Minotaur is a Greek Mythological figure who lived in the Ancient Times, so the environment should look like from those times as well. I begun from base of a column, divided the column in four segments. Then decorated the plinth with some ornaments styled to Doric column.
由于Minotaur是希腊神话中生活在古代的虚构角色,所以我们需要把周围的环境也塑造成同那个时代一样的建筑氛围。我开始先做出一个圆柱的底部,再做出四个独立分隔的柱身,然后再在基座部分用一些装饰物来修饰出多利安式柱子的风格。

渲一下看看

I made a skull cap from two cylinder crossing.
接着在把柱子顶端的弧形顶盖给做出来。

Then I used only diffuse and bumps to texture the column.
在柱子的材质上我只使用了过度色和凹凸两种贴图。

I copied the whole segment more than ten times which gave me the look of a Greek temple. The floor seamed flat with only textures on it. I added few dozen stones which were visible in the foreground.
最后把做好的柱子进行多次的复制然后一一摆放到场景中相应的位置中去使之产生一种希腊神庙的外形感。
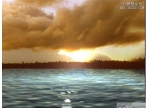
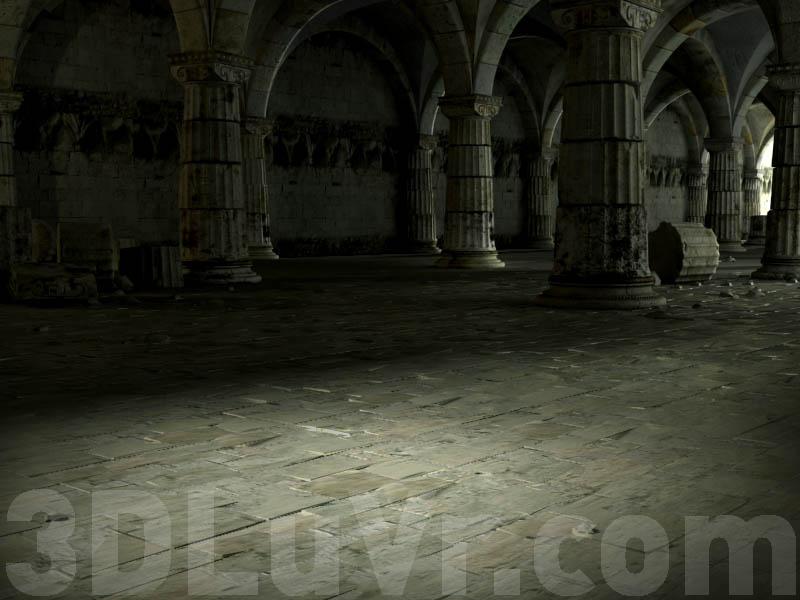
I used 9 lights for the whole scene. I put fRsoftShadows on characters as modelling light.
I light up environment by using 4 lights. I used FinalRender, Global Illumination and Depth of Field.
在整个场景当中我一共使用了9盏的灯光。对于角色的照明我使用的是FinalRnder中的fRsoftShadows。而照亮场景的主光源的话我则使用了四盏。在这里,我一共用了FinalRender,Global Illumination(全局照明)以及Depth of Field(镜深模糊)。

效果还不错继续。
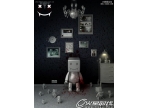
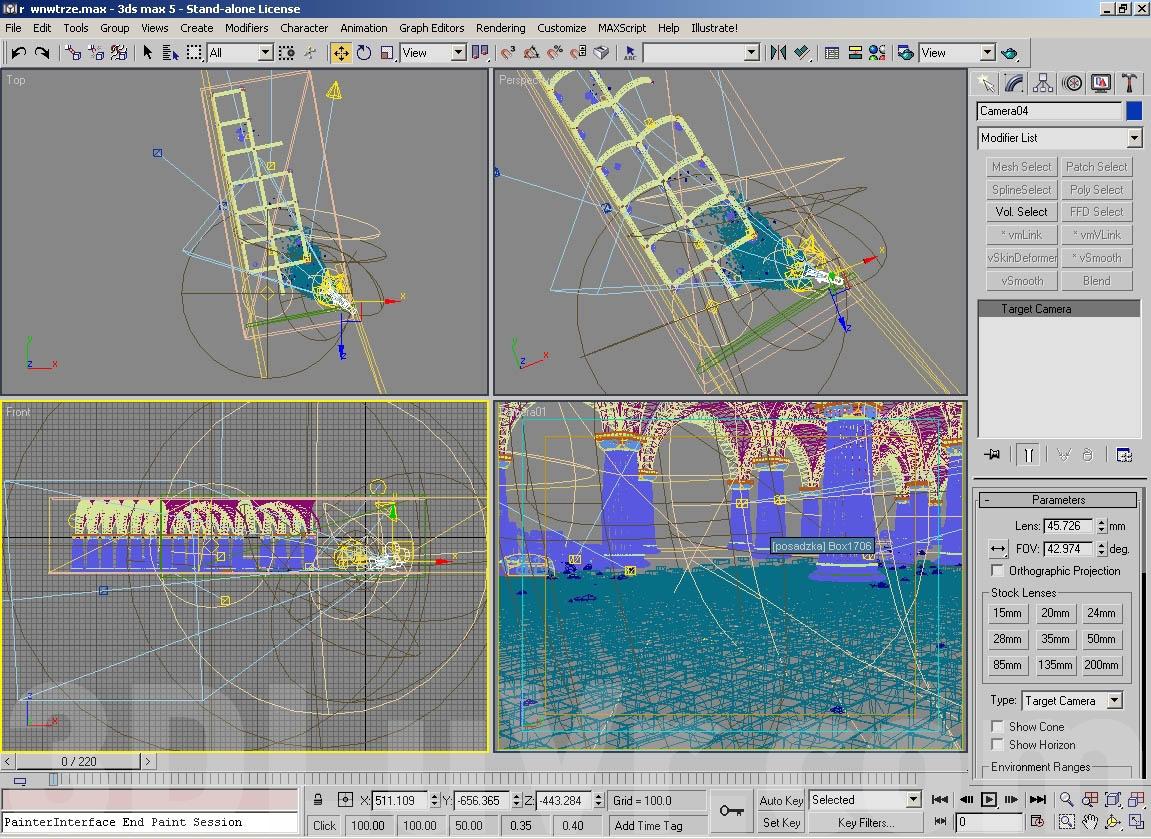
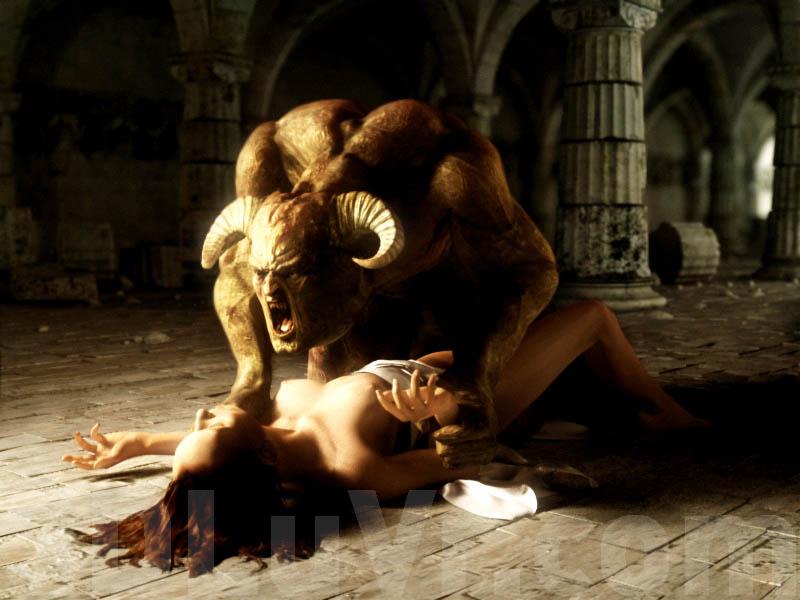
The final image is shown below as a wireframe and full rendering.
最后的这两张图片是最终的线框图和渲染完整的图片。

最后的效果我个人觉得挺NB的,我没有白替它翻译。
学习 · 提示
相关教程