ps绘制一个老式宝丽莱相机图标(15)
Step 63
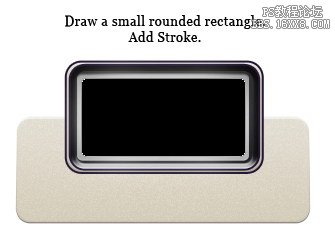
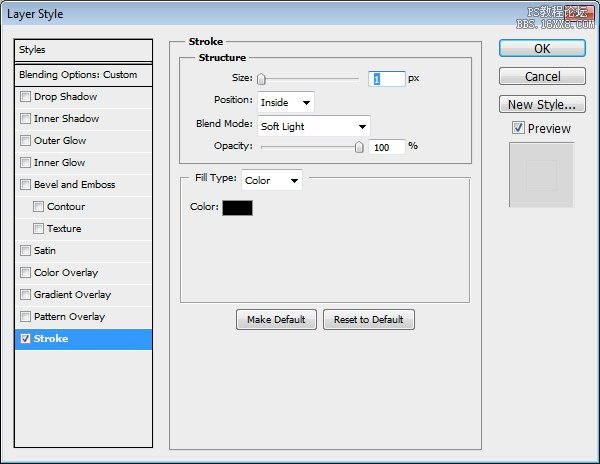
Draw smaller rounded rectangle. Add Stroke. Change layer’s Opacity to 16% and Fill to 0%.
绘制小圆角矩形。新增行程。更改图层的不透明度为16%,填充为0%。

Step 64
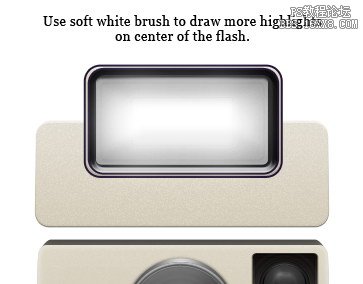
Use soft brush to draw more highlights on center of the flash.
使用软毛刷,以吸引更多的闪光灯的中心亮点。
Step 65
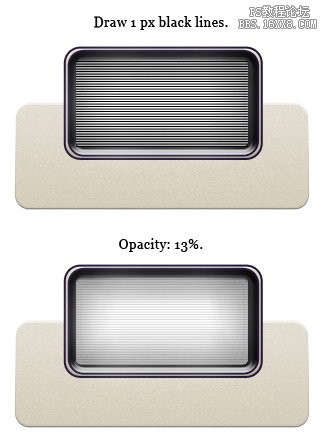
Create new layer. Draw 1 px black lines. Reduce layer Opacity to 13%.
创建新的图层。画一像素的黑线。降低图层不透明度为13%。
Step 66
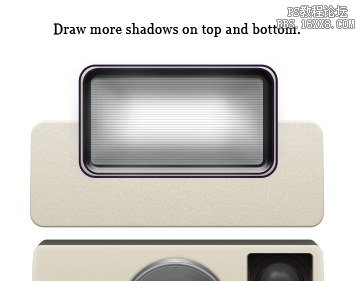
Draw more shadows on top bottom of the flash surface.
画出闪光表面顶底更多的阴影。
Step 67
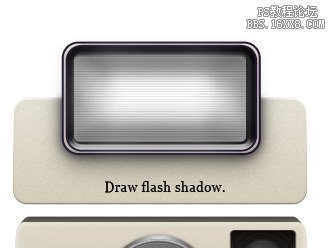
Create new layer and place it under the flash. Use soft brush to draw flash shadow.
创建新图层,置于闪存。使用软刷画闪光阴影。
Step 68: Rear Part
Draw a rounded rectangle. Place it behind all shapes.
画一个圆角矩形。它的形状放在背后。

Step 69
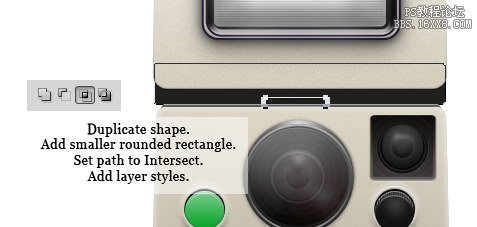
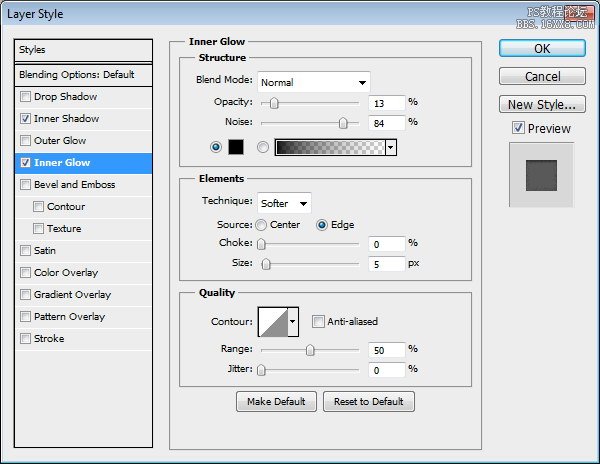
Duplicate shape. Add smaller rounded rectangle and from the option bar set it to Intersect. See picture below for its placement. Add following Layer Styles.
重复的形状。新增小圆角矩形,并从选项栏中设置为相交。其位置见下面的图片。新增以下图层样式。

学习 · 提示
相关教程