ps绘制一个老式宝丽莱相机图标(9)
Step 37
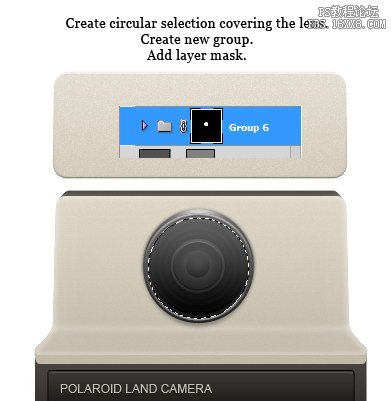
Let’sadd highlight and shadow to make it more realistic. Create a circular selectioncovering the lens. Create new group then click Add Layer Mask icon.
让我们添加高光和阴影,使之更加切合实际。创建一个圆形选区覆盖的镜头。创建新组,然后单击添加图层蒙板图标。
Step 38
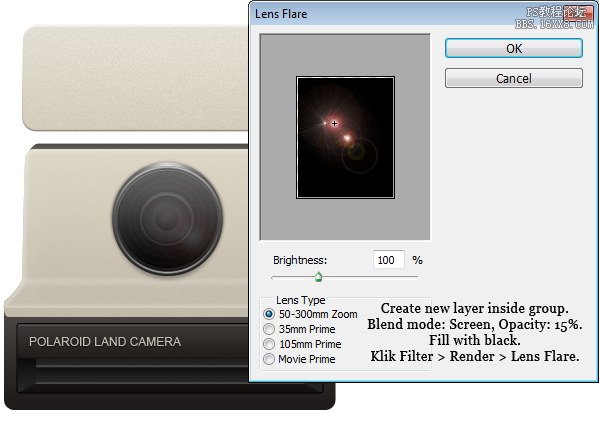
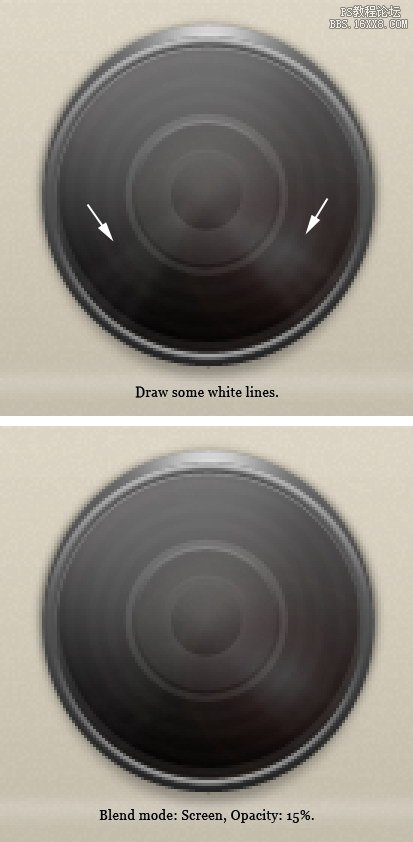
Createnew layer and make sure it is inside the group we have just created. Fill layerwith black. Click Filter > Render > Lens Flare. Change blend mode toScreen and reduce Opacity to 15%.
创建新层,并确保它在我们刚才创建的组中。用黑色填充层。点击“滤镜>渲染“镜头眩光。改变混合模式为屏幕,不透明度降低到15%。

Step 39
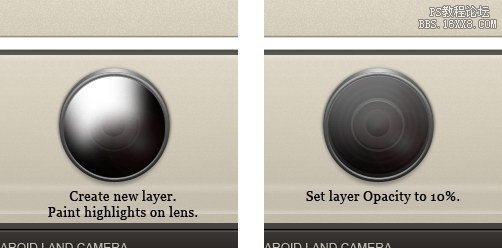
Createnew layer and paint highlights on the lens. Reduce layer Opacity to 10%.
创建新层和油漆突出的镜头。降低图层不透明度为10%。
Step 40
Usesmaller brush to draw some lines on the lens. Change layer blend mode to Screenand reduce Opacity to 15%.
使用较小的画笔绘制镜头上的一些行。更改图层混合模式为屏幕,不透明度降低到15%
Step 41
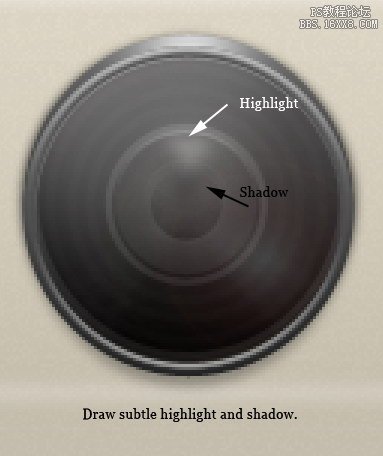
Drawanother layer and draw a small highlight and shadow.
绘制另一个图层,画一个小亮点和阴影。
学习 · 提示
相关教程