ps绘制一个老式宝丽莱相机图标(19)
Step 81
Group all lines by selecting all line layers and hit Command/Ctrl + G. Command/Ctrl-click rounded rectangle shape that forms upper part of the camera. Click Add Layer Mask icon. Now, the ribbon is inside upper part of the camera.
组合所有线路全部由多层线路选择和命中命令/按Ctrl+克命令/
Ctrl键单击圆角矩形形状,形式,相机上部。点击添加图层蒙板图标。现在,色带是在相机内的上部。

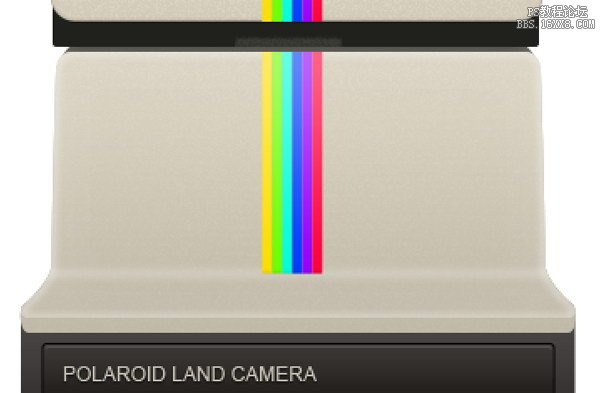
Step 82
Repeat previous steps to add another ribbon on middle part of the camera.
重复前面的步骤添加另一个摄像机的中间部分剪彩。
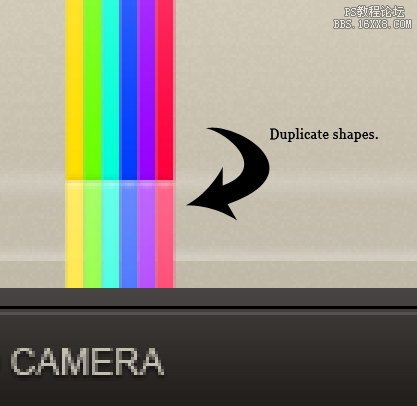
Step 83
Duplicate shapes and put them on lower part of the camera.
重复的形状,放在降低了相机的一部分。
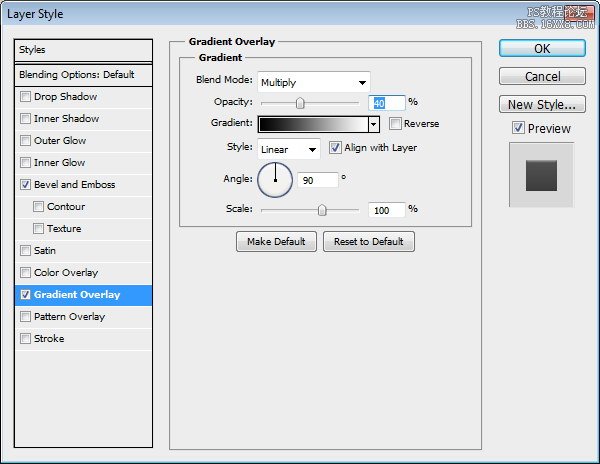
Step 84
For these ribbons, change their Gradient Overlay mode from Screen to Multiply.
对于这些丝带,改变他们的梯度,屏幕叠加模式为叠加。
Step 85
Select the ribbon group. Hit Command/Ctrl + T to perform transformation. Right click and choose Perspective. Pull lower corner. See picture below for reference.
选择色带组。点击命令/按Ctrl + T进行改造。右击并选择视角。拉右下角。见下面的图片,以供参考。

学习 · 提示
相关教程